- Step1:Install nginx, Mariadb,PHP and depend pakages
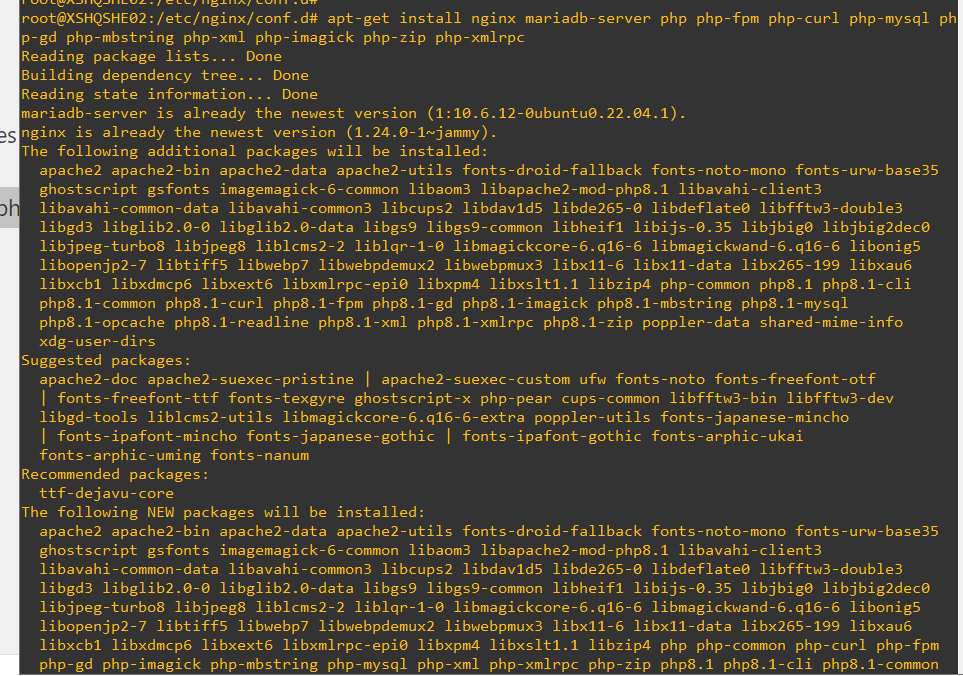
apt-get install nginx mariadb-server php php-fpm php-curl php-mysql php-gd php-mbstring php-xml php-imagick php-zip php-xmlrpc
Once the LEMP server is installed, verify the PHP version using the following command:
php -v

root@XSHQSHE02:/etc/nginx/conf.d# vim /etc/php/8.1/fpm/php.ini
Change the following lines:
cgi.fix_pathinfo=0 802行
upload_max_filesize = 128M 850行
post_max_size = 128M 698行
memory_limit = 512M 430行
max_execution_time = 120 409行
Save and close the file when you are finished.
- Step2: Create a Database for WordPress
Once you are logged in, create a database and user with the following command:
MariaDB [(none)]> CREATE DATABASE wpdb;
MariaDB [(none)]> CREATE USER ‘wpuser’@’localhost’ IDENTIFIED BY ‘your password’;
Next, grant all the privileges to the WordPress database using the following command:
MariaDB [(none)]> GRANT ALL ON wpdb.* TO ‘wpuser’@’localhost’;
Next, flush the privileges and exit from the MariaDB with the following command:
MariaDB [(none)]> FLUSH PRIVILEGES;
MariaDB [(none)]> EXIT;
- Step3: Install WordPress on Ubuntu 22.04
First, navigate to the Nginx web root directory and download the latest version of WordPress using the following command:
cd /var/www/html
wget https://wordpress.org/latest.tar.gz
Once the WordPress is downloaded, extract the downloaded file with the following command:
tar -zxvf latest.tar.gz
Save and close the file when you are finished. Next, set proper permission and ownership to the WordPress directory:
chown -R www-data:www-data /var/www/html/wordpress
chmod -R 755 /var/www/html/wordpress
- Step4: Create an Nginx Virtual Host for WordPress
Next, you will need to create an Nginx virtual host configuration file to serve WordPress over the internet.
root@XSHQSHE02:/etc/nginx/conf.d# vim /etc/nginx/conf.d/testweb.conf
Add the following configuration:
server {
    listen 80;
    root /var/www/html/wordpress;
    index  index.php index.html index.htm;
    server_name  wordpress.example.com;

    client_max_body_size 500M;

    location / {
        try_files $uri $uri/ /index.php?$args;
    }

    location = /favicon.ico {
        log_not_found off;
        access_log off;
    }

    location ~* \.(js|css|png|jpg|jpeg|gif|ico)$ {
        expires max;
        log_not_found off;
    }

    location = /robots.txt {
        allow all;
        log_not_found off;
        access_log off;
    }

    location ~ \.php$ {
         include snippets/fastcgi-php.conf;
         fastcgi_pass unix:/var/run/php/php8.1-fpm.sock;
         fastcgi_param SCRIPT_FILENAME $document_root$fastcgi_script_name;
         include fastcgi_params;
    }
}
Save and close the file then verify the Nginx configuration using the following command:
nginx -t
You will get the following output:

- Step5: Enable SSL for Nginx website