- Install Nginx and MariaDB
[root@XSHQSECS02 ~]# dnf install nginx -y

[root@XSHQSECS02 ~]# systemctl start nginx
[root@XSHQSECS02 ~]# systemctl enable nginx

[root@XSHQSECS02 ~]# nginx -v

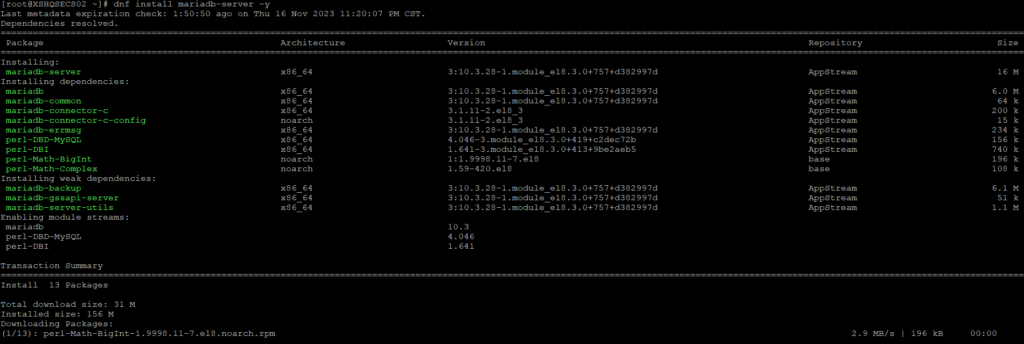
Install mariadb
[root@XSHQSECS02 ~]# dnf install mariadb-server -y
[root@XSHQSECS02 ~]# systemctl start mariadb
[root@XSHQSECS02 ~]# systemctl enable mariadb

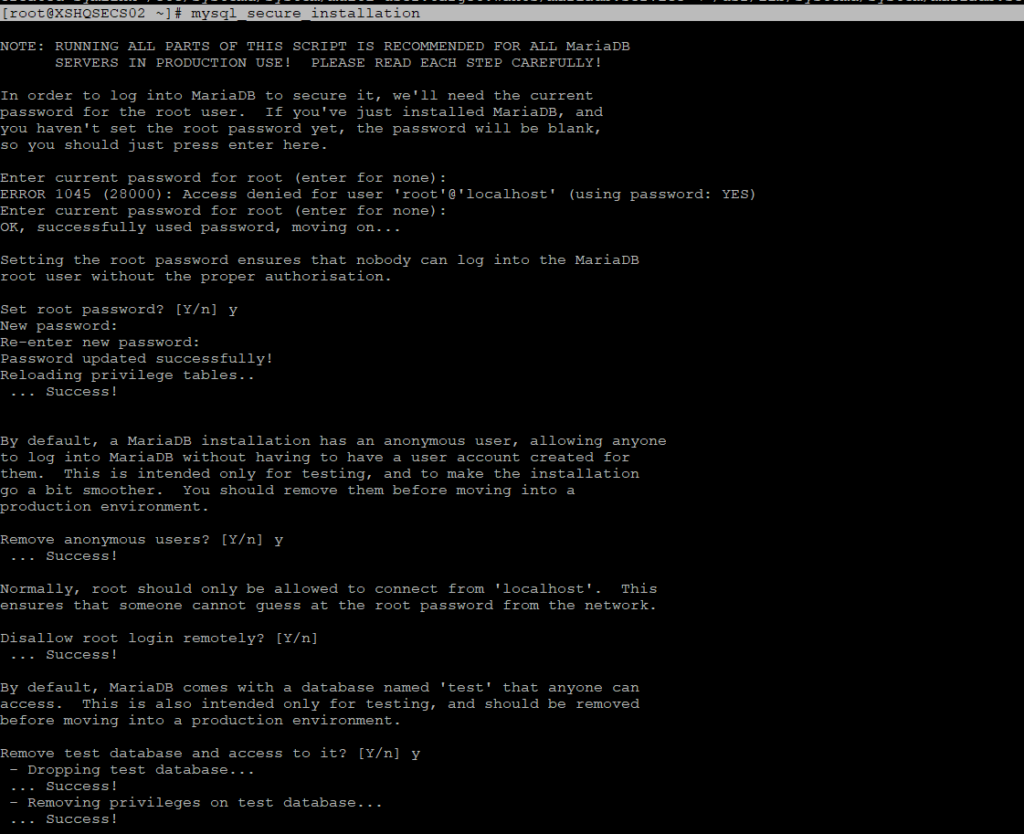
[root@XSHQSECS02 ~]# mysql_secure_installation
- Install PHP 8
[root@XSHQSECS02 ~]# dnf install https://dl.fedoraproject.org/pub/epel/epel-release-latest-8.noarch.rpm
[root@XSHQSECS02 ~]# dnf install https://rpms.remirepo.net/enterprise/remi-release-8.rpm

Next, disable the default PHP repository and enable the PHP Remi repository using the following command:
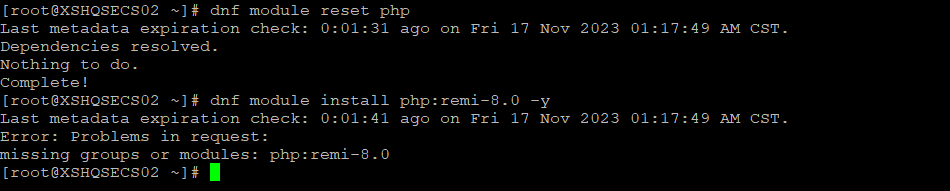
[root@XSHQSECS02 ~]# dnf module reset php
[root@XSHQSECS02 ~]# dnf module install php:remi-8.0 -y
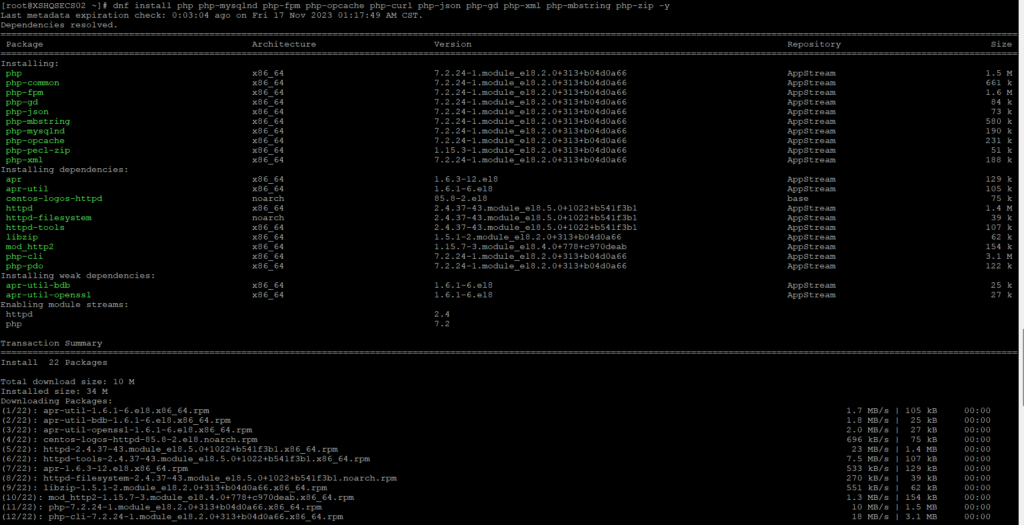
Next, install PHP 8 with other necessary PHP extensions using the following command:
[root@XSHQSECS02 ~]# dnf install php php-mysqlnd php-fpm php-opcache php-curl php-json php-gd php-xml php-mbstring php-zip -y
Once the installation is completed, verify the PHP version using the following command:
[root@XSHQSECS02 ~]# php -v

Nginx uses a PHP-FPM to process the PHP files. By default, PHP-FPM is configured to run as an Apache user. So you will need to configure it for Nginx.
[root@XSHQSECS02 ~]# vim /etc/php-fpm.d/www.conf
Change the user and group from apache to nginx as shown below:
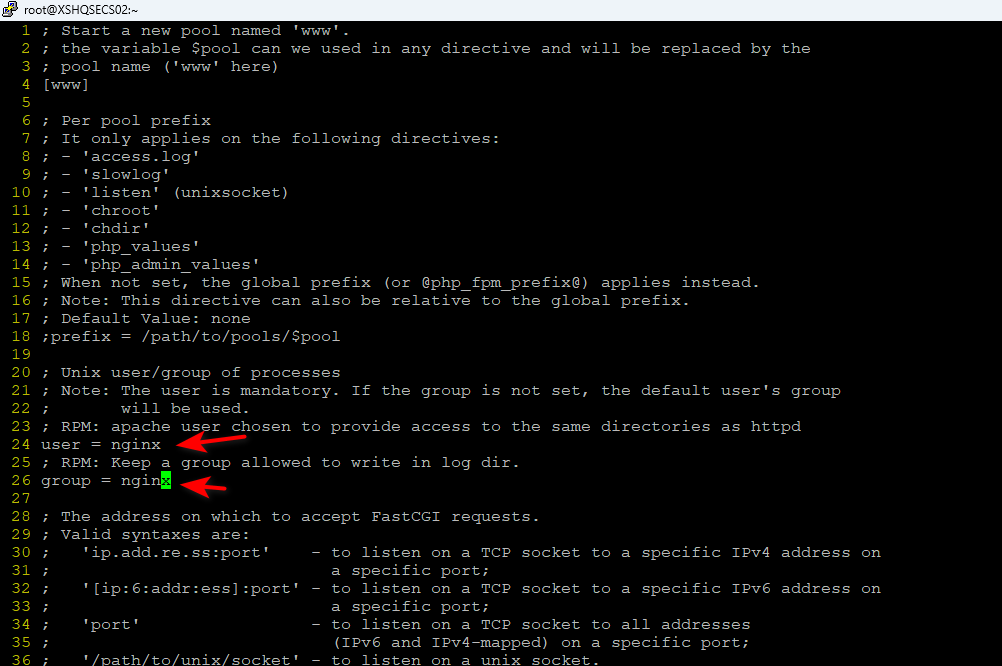
Save and close the file then start the PHP-FPM service and enable it to start at system reboot:
[root@XSHQSECS02 ~]# systemctl start php-fpm
[root@XSHQSECS02 ~]# systemctl enable php-fpm

- Create a Database for WordPress
[root@XSHQSECS02 ~]# mysql -u root -p
MariaDB [(none)]> create database db;
MariaDB [(none)]> create user ‘dbuser’@’localhost’ identified by ‘123456’;
MariaDB [(none)]> grant all on db.* to ‘dbuser’@’localhost’;
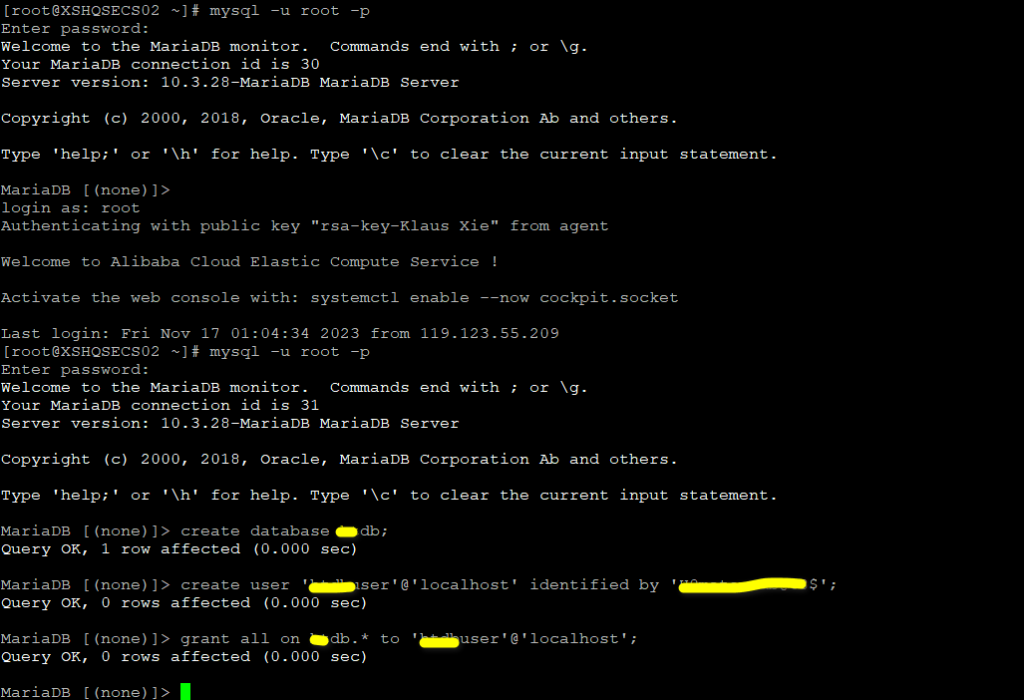
MariaDB [(none)]> flush privileges;
MariaDB [(none)]> exit;

- 下载Wordpress
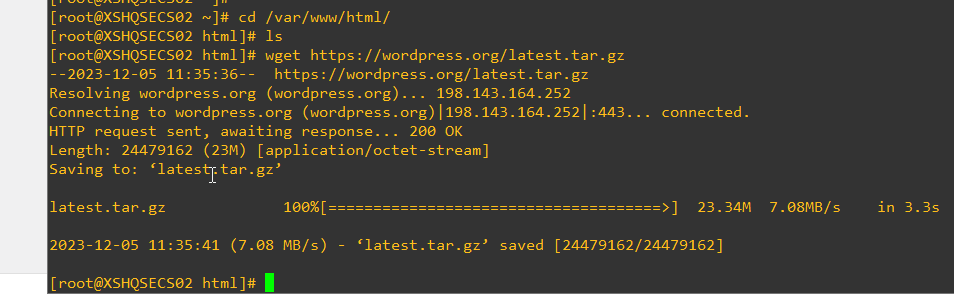
cd /var/www/html
wget https://wordpress.org/latest.tar.gz
解压
tar -xvzf latest.tar.gz

更改网站根目录的名字,可以根据命名为你的域名或者网站名字
mv wordpress yourdomain.com

更改所属者
chown -R nginx:nginx /var/www/html/yourdomain.com
- 为Wordpress创建Nginx的虚拟主机
vim /etc/nginx/conf.d/maitang(或者你的域名)
配置文件如下
server {
   listen 80;
   server_name yourdomain.com www.yourdomain.com;

   root /var/www/html/yourdomain.com;
   index index.php index.html index.htm;

   location / {
      try_files $uri $uri/ =404;
   }
   error_page 404 /404.html;
   error_page 500 502 503 504 /50x.html;
   location = /50x.html {
      root /usr/share/nginx/html;
   }

   location ~ \.php$ {
      try_files $uri =404;
      fastcgi_pass unix:/var/run/php-fpm/www.sock;
      fastcgi_index index.php;
      fastcgi_param SCRIPT_FILENAME $document_root$fastcgi_script_name;
      include fastcgi_params;
   }
}
测试Nginx配置文件并重启服务
[root@XSHQSECS02 conf.d]# nginx -t
nginx: the configuration file /etc/nginx/nginx.conf syntax is ok
nginx: configuration file /etc/nginx/nginx.conf test is successful
[root@XSHQSECS02 conf.d]#
[root@XSHQSECS02 conf.d]# systemctl restart nginx
- 如果服务器启用了Selinux和防火墙,要配置规则
vim /etc/selinux/config
SELINUX=disabled

firewall-cmd --permanent --zone=public --add-service=http
firewall-cmd --permanent --zone=public --add-service=https

firewall-cmd --reload