OpenStack is a free and open-source software platform that provides a cloud computing infrastructure. It provides a set of services for building and managing cloud environments, including compute, storage, networking, and identity management.
Devstack is a tool that enables the installation of OpenStack on a single node. In this tutorial, we will guide you through the process of installing a single node OpenStack using Devstack on Ubuntu 22.04.
- Prerequisites
- Lab Details
- 1) Install Git and Add Stack User
- 2 ) Download devstack and setup local.conf file
- 3) Start Openstack Installation
- 4) Access Openstack
Prerequisites
Before proceeding with the installation, you should ensure that your system meets the following requirements:
- Freshly Installed Ubuntu 22.04
- At least 8GB of RAM
- At least Dual Processor (2vCPUs or more)
- Sudo User with admin rights
- At least 50GB of free disk space is available.
- Fast and stable internet Connection
Lab Details
- OS : Ubuntu 22.04 LTS
- IP Address : 10.88.60.20
- Interface: ens34
Without any further delay, let’s deep dive into installation steps of Openstack
- Install Git and Add Stack User
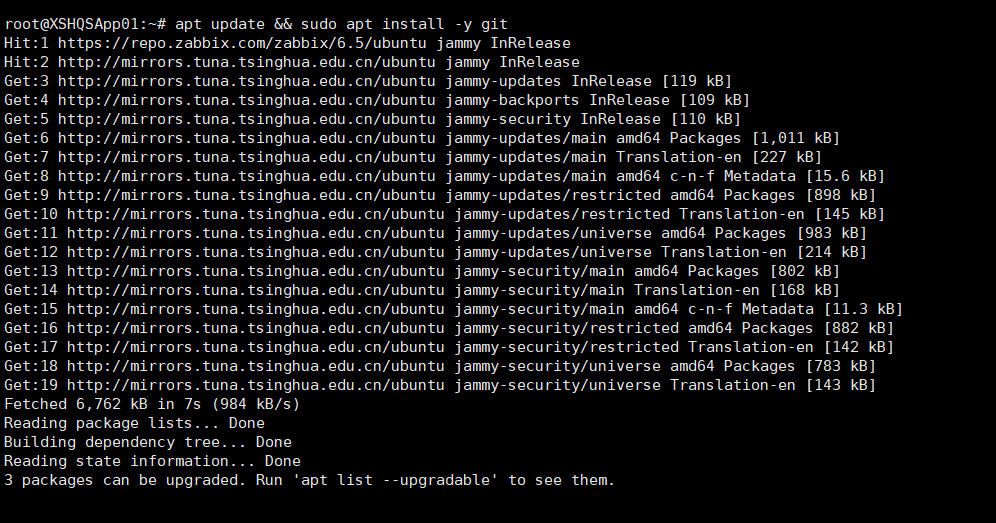
Open the terminal and run following apt commands to install git,
root@XSHQSApp01:~# apt update && sudo apt install -y git
Create a user named stack using following useradd command and assign sudo rights to it. Run following set commands
root@XSHQSApp01:~# useradd -s /bin/bash -d /opt/stack -m stack
root@XSHQSApp01:~# chmod +x /opt/stack
root@XSHQSApp01:~# usermod -aG sudo stack
root@XSHQSApp01:~# echo “stack ALL=(ALL) NOPASSWD: ALL” | sudo tee /etc/sudoers.d/stack
stack ALL=(ALL) NOPASSWD: ALL
root@XSHQSApp01:~# sudo -u stack -i
- Download devstack and setup local.conf file
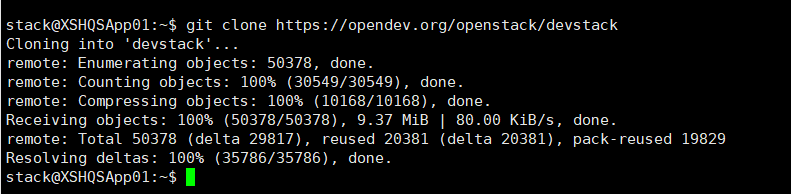
Clone the Devstack repository by running the following command:
stack@XSHQSApp01:~$ git clone https://opendev.org/openstack/devstack
Navigate to the Devstack directory by running the following command:
stack@XSHQSApp01:~$ cd devstack
Create a local.conf file by copying the sample configuration file:
stack@XSHQSApp01:~/devstack$ cp samples/local.conf local.conf
Edit the local.conf file and add the following configuration:
$ vim local.conf
[[local|localrc]]
HOST_IP=10.88.60.20
SERVICE_HOST=10.88.60.20
MYSQL_HOST=10.88.60.20
RABBIT_HOST=10.88.60.20
GLANCE_HOSTPORT=10.88.60.20:9292
ADMIN_PASSWORD=secret
DATABASE_PASSWORD=$ADMIN_PASSWORD
RABBIT_PASSWORD=$ADMIN_PASSWORD
SERVICE_PASSWORD=$ADMIN_PASSWORD
## Neutron options
Q_USE_SECGROUP=True
FLOATING_RANGE=”10.88.60.0/24″
IPV4_ADDRS_SAFE_TO_USE=”10.0.0.0/22″
Q_FLOATING_ALLOCATION_POOL=start=192.168.1.185,end=192.168.1.195
PUBLIC_NETWORK_GATEWAY=”10.88.60.1″
PUBLIC_INTERFACE=enp0s3
# Open vSwitch provider networking configuration
Q_USE_PROVIDERNET_FOR_PUBLIC=True
OVS_PHYSICAL_BRIDGE=br-ex
PUBLIC_BRIDGE=br-ex
OVS_BRIDGE_MAPPINGS=public:br-ex
- Start Openstack Installation
Once the devstack is installed and local.conf is setup properly as per our environment, then run the following command to start the installation process:
stack@XSHQSApp01:~/devstack$ ./stack.sh
The installation process may take 10 to 20 minute to complete, depending on your internet speed and system resources.
Above script will install keystone, glance, nova, placement, cinder, neutron, and horizon. Floating IPs will be available, guests have access to the external world and guest VMs can be accessed from LAN by allocating Floating ips to them.
Once the installation is complete, you will see a message indicating that Devstack has been successfully installed.